Physical Address
304 North Cardinal St.
Dorchester Center, MA 02124
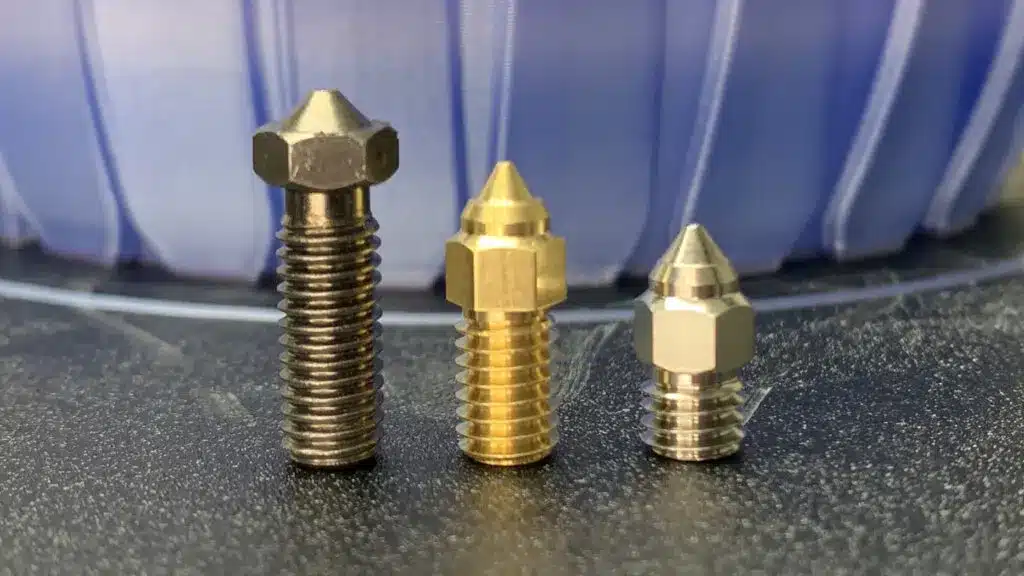
To clean an Ender 3 nozzle, heat it up to about 200 degrees Celsius and carefully remove any filament residue using a wire brush or needle.

Credit: www.scribd.com
Recognizing the signs of a clogged nozzle is essential for maintaining the optimal performance of your Ender 3 3D printer. A clogged nozzle can lead to various issues such as filament oozing and under-extrusion. By understanding these symptoms, you can take proactive steps to clean the nozzle and prevent printing problems. Let’s delve into the key indicators of a clogged nozzle.
One of the telltale signs of a clogged nozzle is filament oozing. When the nozzle is partially blocked, excess filament may leak out during printing, causing messy, uneven layers, and compromising the print quality.
Another sign of a clogged nozzle is under-extrusion. This occurs when the filament is not flowing smoothly through the nozzle, resulting in gaps and incomplete layers in the printed object. You may notice thin, fragile sections and an overall lack of material deposition.
Credit: formfutura.com
Learn how to effectively clean the nozzle on your Ender 3 with these simple preparation steps. Keep your printer running smoothly by following these expert guidelines for a pristine nozzle.
Before you begin cleaning the Ender 3 nozzle, it’s important to gather all the necessary tools. Having the right tools at hand will make the process easier and more efficient.
Here’s a list of tools you’ll need:
Make sure you have all of these tools readily available before starting the cleaning process. It saves you time and prevents frustration during the cleaning.
Safety should always be a top priority when working with any machinery, including the Ender 3 nozzle. Taking the necessary safety precautions will ensure a smooth and accident-free cleaning process.
Here are a few safety tips to keep in mind:
By following these safety precautions, you can have peace of mind while cleaning the Ender 3 nozzle.
Cleaning the nozzle of your Ender 3 3D printer is an essential maintenance task that ensures smooth and high-quality prints. Over time, the nozzle can become clogged with filament residue, resulting in poor extrusion and even failed prints. In this blog post, we will explore three effective cleaning techniques to keep your Ender 3 nozzle in top shape.
The Cold Pull Method is a popular technique for unclogging a nozzle quickly and effectively. It involves using a temperature variation to solidify and remove any filament residue inside the nozzle.
To perform the Cold Pull Method:
This method helps remove any stuck filament inside the nozzle, ensuring smooth and uninterrupted filament flow during your next printing session.
The Hot Swapping Method is another effective technique to clean your Ender 3 nozzle. It involves manually swapping the filament in the hot nozzle to remove any obstructions.
To clean the nozzle using the Hot Swapping Method:
Using the Hot Swapping Method regularly helps prevent clogs and ensures consistent and reliable 3D prints.
The Chemical Soak Method is a more intensive cleaning technique that effectively removes stubborn filament residue from the nozzle. It involves soaking the nozzle in a cleaning solution to dissolve and remove any debris.
Here’s how to perform the Chemical Soak Method:
The Chemical Soak Method helps restore the nozzle’s performance by removing even the toughest obstructions, ensuring optimal printing results.
Clean your Ender 3 nozzle effortlessly and get rid of stubborn clogs with our simple yet effective techniques. Keep your 3D printer running smoothly with these easy cleaning methods.
Stubborn clogs in your Ender 3 nozzle can be frustrating to deal with, but with the right techniques, you can effectively remove them and get back to 3D printing without hassle. Here are some effective methods for tackling stubborn clogs. Using a nozzle cleaning needle is a straightforward and effective way to clear stubborn clogs from your Ender 3 nozzle. When using this method, follow these steps: – Turn off the 3D printer and allow the nozzle to cool down. – Carefully insert the cleaning needle into the nozzle, applying gentle pressure to dislodge any debris. – Gently remove the needle and clean off any loosened material using a soft cloth or cotton swab. – Turn on the 3D printer and heat the nozzle to the recommended temperature for the filament you are using. – Perform a manual extrusion to ensure the nozzle is clear and ready for printing. The heat gun method can be particularly effective for removing stubborn clogs from the Ender 3 nozzle. Here's how to use this approach safely and effectively: 1. Carefully detach the nozzle from the hotend assembly to avoid damaging any other components. 2. Using a heat gun set to a low temperature, apply gentle heat to the clogged nozzle. Be cautious not to overheat and damage the nozzle. 3. Wait for the softened material to start dripping out of the nozzle. 4. Once the clog is loosened, use a nozzle cleaning needle to carefully remove any remaining debris. 5. Reassemble the nozzle and hotend, ensuring everything is securely in place before resuming printing. Using these methods, you can effectively remove stubborn clogs from your Ender 3 nozzle and ensure smooth, uninterrupted 3D printing.Proper maintenance of your Ender 3 nozzle is crucial in ensuring smooth 3D printing operations. Let’s delve into some essential maintenance tips to enhance the longevity of your printer.
Regularly cleaning your Ender 3 nozzle prevents clogs and ensures consistent print quality. Develop a routine cleaning schedule.
High-quality filament is essential for the smooth operation of your Ender 3 printer. Invest in reputable brands to prevent nozzle clogging.
Wondering what to do if your Ender 3 nozzle is still clogged after cleaning or if you encounter issues following the cleaning process? Let’s dive into some common troubleshooting steps to get your 3D printer back up and running smoothly.
In case the nozzle remains clogged, consider reaching out to customer support for further assistance.

Credit: glarity.app
Keeping your Ender 3 nozzle clean is essential for optimal 3D printing performance. Regular maintenance and proper cleaning techniques will ensure smooth and consistent prints. By following the steps outlined in this guide, you can extend the lifespan of your printer and produce high-quality creations.
Keep your Ender 3 in top condition for successful printing projects.