Physical Address
304 North Cardinal St.
Dorchester Center, MA 02124
To clean a Marley floor, use a mixture of warm water and gentle floor cleaner. Avoid harsh chemicals.
Marley floors are commonly found in dance studios and theaters due to their durable and slip-resistant properties. Proper cleaning and maintenance are essential to preserve the surface and prevent any damage. By following the correct cleaning procedure, you can ensure that your Marley floor remains in top condition for years to come.
We will discuss the best practices and tips for cleaning Marley floors effectively, helping you maintain a safe and clean dancing or performance space for all users.
Marley floors require consistent upkeep for long-lasting durability and outstanding performance.
Maintaining Marley floors ensures a visually appealing environment for your space.
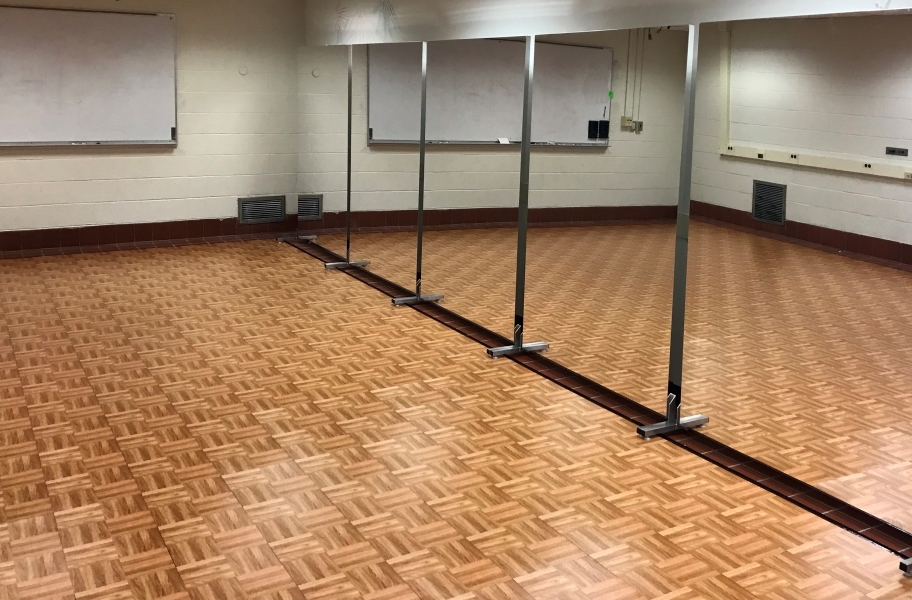
Credit: www.flooringinc.com
Marley flooring is made of a high-quality vinyl material that is durable and flexible.
Marley floors are commonly used in dance studios, theaters, and fitness centers.
When it comes to cleaning a Marley floor, having the right tools and cleaning agents is crucial to maintaining its pristine condition. The proper cleaning tools and agents not only ensure a thorough clean but also help preserve the quality and lifespan of the Marley floor. Let’s delve into the essential tools and cleaning agents necessary for effectively cleaning a Marley floor.
A soft bristle broom is an indispensable tool for cleaning Marley floors. It effectively removes dust, dirt, and debris without causing any damage to the surface. Make sure to use a soft bristle broom to gently sweep the Marley floor, reaching into corners and along the edges to remove all loose particles.
Using a neutral pH cleaner is imperative in maintaining the integrity of a Marley floor. Harsh chemicals can degrade the surface of the Marley floor, leading to discoloration and deterioration over time. When selecting a cleaning agent, opt for a neutral pH cleaner specifically formulated for use on Marley floors.
Before cleaning your Marley floor, proper pre-cleaning preparation is essential. Follow these steps to ensure a successful cleaning process and maintain the quality of your Marley floor.
Before starting the cleaning process, it’s crucial to remove any obstructions from the Marley floor. These obstructions may include furniture, equipment, or any other items that could hinder the cleaning process. Removing obstructions not only ensures a thorough cleaning but also prevents any potential damage to the floor and reduces the risk of accidents.
Once you have cleared the floor of any obstructions, the next step is to sweep away the debris. Sweeping the Marley floor helps to remove loose dirt, dust, and other particles that may have accumulated on the surface. It is advisable to use a soft bristle broom or a dry mop for this purpose to minimize the risk of scratching or damaging the floor.
Here are some tips to effectively sweep debris from your Marley floor:
By sweeping the floor before cleaning, you can effectively remove larger particles and prepare the Marley floor for a more thorough cleaning process.
To clean a Marley floor, begin by removing any loose debris with a broom or vacuum. Next, mix a gentle floor cleaner with warm water and mop the entire surface. For stubborn stains, use a soft-bristled brush. Finally, dry the floor completely with a clean cloth to avoid any water damage.
Begin by sweeping the Marley floor to remove loose dirt and debris.
Prepare a solution of warm water and mild floor cleaner in a bucket.
Dip a clean mop into the solution, wringing it out thoroughly.
Mop the Marley floor in even strokes, starting from one corner to the other.
Allow the floor to air dry completely before allowing any foot traffic.
For individual stains, use a soft cloth dampened with soapy water to gently scrub the area.
Rinse the spot with clean water and pat it dry with a towel.
If the stain persists, consider using a specialized Marley floor cleaner as per instructions.
Avoid harsh chemicals or abrasive tools that can damage the Marley surface.
Regularly inspect and address any spills or marks promptly to maintain the floor’s integrity.
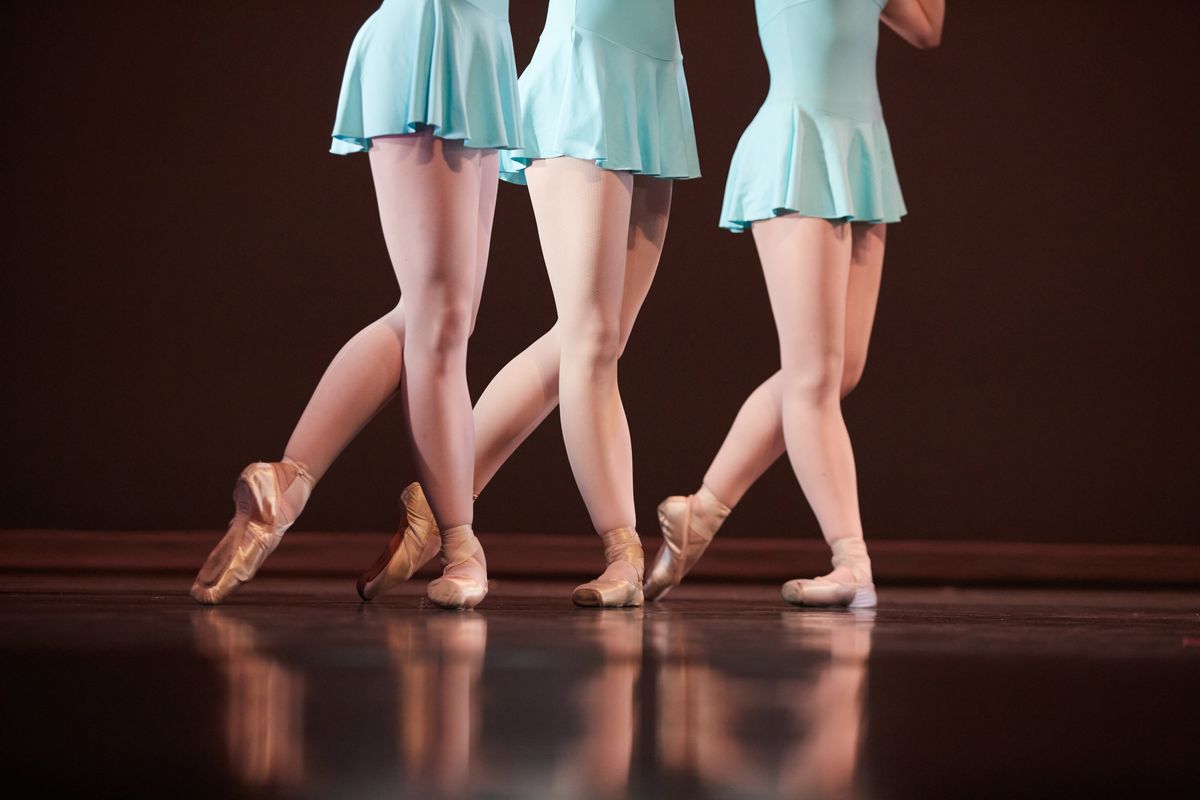
Credit: dance-teacher.com
Discover effective ways to tackle tough stains on your Marley floor with simple cleaning solutions. Remove stubborn marks and maintain the pristine look of your Marley floor effortlessly.
If you’re dealing with grease or oil stains on your Marley floor, don’t panic! With the right approach and a little bit of effort, you can remove these stubborn stains and restore the beauty of your dance floor.
Facing an ink or dye stain on your Marley floor can be a cause for concern. However, with the right approach and some patience, you can effectively remove these challenging stains and restore your dance floor to its former glory.
Regular maintenance is essential to keep your Marley floor in top condition. By following a daily cleaning routine and periodic deep cleaning, you can preserve the integrity and beauty of your Marley floor for years to come.
Implementing a daily cleaning routine will help prevent dirt and grime from building up on your Marley floor. Here are a few simple steps to follow:
In addition to your daily cleaning routine, periodic deep cleaning is necessary to maintain the longevity of your Marley floor. Follow these steps to give your floor a thorough clean:
By following these regular maintenance tips, you can extend the lifespan of your Marley floor and keep it looking pristine. Remember to always use gentle cleaning solutions and techniques to avoid damaging the surface. With proper care and maintenance, your Marley floor will continue to provide a safe and beautiful space for your dance or performance activities.

Credit: us.harlequinfloors.com
When it comes to caring for a Marley floor, it’s important to consider professional care and maintenance services to ensure the longevity and performance of the floor. Professional maintenance can provide the necessary expertise and resources to keep your Marley floor in top condition.
Professional maintenance services offer several advantages for Marley floors, including:
Professional maintenance should be sought when:
Cleaning Marley floor is essential for maintaining its quality and lifespan. By following the steps outlined in this guide, you can effectively remove dirt and grime and keep your Marley floor looking its best. Regular maintenance will ensure a safe and hygienic environment for dancers and performers.
Keep these tips in mind to keep your Marley floor in top condition.